
Last Updated on 3 years by Alex
Engaging in a repetitive and alternative exercise of heating and cooling a room can account for most of your electricity bill and cost you fat bucks. The easiest solution to avoid this from happening is to invest in a ceiling fan that will help you regulate the room temperature without putting you through extremes.
Ceiling fans are uncomplicated in their design and operation and can be efficiently adjusted to your liking with a simple regulator. Ceiling fans are rapidly growing to be one of the most popular investments made by homeowners to accessorize their living spaces.
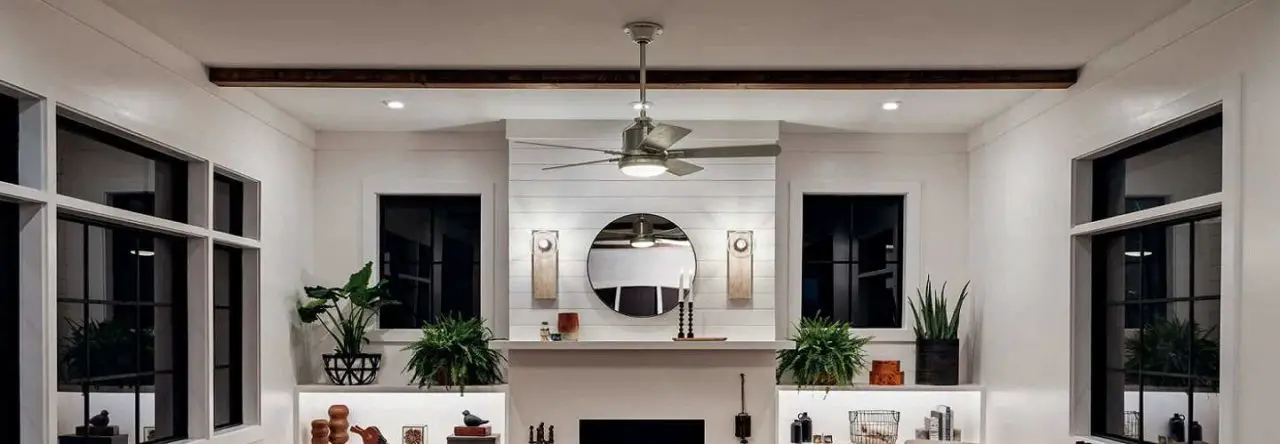
Installing Harbor Breeze Fan Step-by-Step Guide
This is owing to their ability to blend with every theme or type of interior décor and availability in a wide range of ancillary features. With technological advancement leading us to smarter homes, ceiling fans can now be regulated with a remote, which cuts down on your efforts by half.
Ceiling fans have a D.I.Y. (do it yourself) friendly installation method but although their instructions don’t come in Swedish for one to be lost in the process, it is sometimes difficult to trace the instruction manual back to the box that your Harbor fan came in.
This article provides a step-by-step guide for you to follow for installing Harbor Ceiling Fan right from unboxing.
1. The Perfect Match
Harbor Breeze makes five distinct kinds of fans in varied designs contemporary, traditional, transitional, custom-made, and outdoor fans.
Before you commence, you must first decide the fan suitable for your needs on the basis of factors such as size, room space available, electricity consumption, durability, cost, and the amount of noise it makes. You can read the review of each here – https://www.harbor-breeze-fan.com/7-best-harbor-breeze-ceiling-fans/
2. Tools
No mission is prepared for being accomplished sans a wholesome set of tools and equipment. Likewise, to install a harbor ceiling fan, you will need the following materials:
- Ceiling Fan Kit
- Ladder
- Screw Driver
- Pliers
- Safety Glasses
- Driller
- Wire Connector
- Circuit Tester
3. Safety
Working with wiring can be both tricky and dangerous. It is hence always advisable to test new wirings with the help of a non-contact voltage tester before you handle them. These non-contact voltage testers can be obtained at a nominal amount from a hardware or home improvement store. Also, ensure the power is shut from the breaker. This is the first and foremost step to deal with any kind of installation that works on electricity, to avoid accidents.
4. Fixture
Ensure you have conducted proper research and gathered permits (if required) for the installation process. When you begin the installation process, ensure the switches are put off on the main breaker. Make sure you have a hot head that suggests electricity is not currently running through the line.
After putting off the power, take out the fixture already existing in the ceiling. If the fixture is inside a plastic box, you will have to replace it with a steel one. In case the fixture is not sealed tightly, you will need an expandable mounting bracket.
5. Mounting Bracket
Use spring washers, screws, and flat washers to secure the mounting bracket to the outlet box. Your fan gets its primary support from this mounting bracket. It is crucial for the mounting bracket to be secured efficiently to avoid injuries. Carefully remove the motor screws and lock washers from the motor.
6. Wiring
The wired for installation will be in standard colors like white, green, blue, and black. The blue wire stands for hot power for the light kit. The green wire is the ground wire. Ground wires can also be bare-colored. The white one is for the fan and light kit. This information on wires is of utmost importance and if your wiring looks like any other shade not mentioned here, you must abort the installation process immediately and contact a professional installer or electrician.
7. Assembling the Motor
The motor assembly must be aligned to the ceiling’s mounting brackets. Use screws and flat washers to secure the motor assembly to the bracket. Then, take the screws of the mounting brackets out and add a lock in the washers. Use motor housing to cover the motor assembly and tighten it securely in its place with the help of screws.
8. Blades
Secure all the arms of the blade under the blade and use screws and washers to keep them in place. Do this activity one blade at a time. Ensure the blades are firmly tightened post-installation. Connect the arms of the blade with the motor, motor screws, and lock washers. Then, use screws to fasten the shade filter plate. Fix your light bulb in, as per the prescribed wattage. Follow the installation specifications to install the glass shade.
9. Remote-Control Receiver
In case you want to install a remote-controllable receiver to follow your commands from the comforts of your couch, only a few additional steps will be required. The remote-control receiver goes inside the fan canopy for starters. The wiring of this receiver is placed inside the fan canopy, while the other receivers are installed into a wall.
10. Identify the Wires
Since the ceiling fan runs on an electric motor that consists of spinning motor coils, energy travels through the fan capacitor to empower the blades and make them run.
In order to install a receiver in your fan, you will need to identify the wires mentioned above, the black wire that powers the fan’s motor, the blue wire that takes care of the light, and the white wire being the neutral one, that handles the motor and the light.
Your new remote control receiver will have to be attached to these very wires for you to make your Harbor fan run on your fingertips.
11. Match the Wires
The receiver will have the same wires with corresponding colors and labels, for light, motor, and neutral ones for you to will be able to connect. The receiver wires will have to be connected to the electric box wires by matching the wires and subsequently twisting a wire connector on each pair of wires. After connecting all the matching wires, place the receiver behind the hanging fan bracket safely.
12. Test
Attach the fan’s canopy back in its place. You will find that the canopy now covers both the electric box as well as the receiver. Fasten the canopy with the help of screws and a screwdriver and carefully descend from the ladder.
Switch on the power breaker and give your newly-installed fan a test run. If your fan runs successfully, proceed to test the remote-control feature but ensure that you have batteries for your remote that are fully functional.
Conclusion
Installing a fan is not the quickest task in the world, with the upcoming technologically forward designs that accompany it, but it isn’t a rocky road either.
It is always advisable to have necessary safety gear and an additional pair of helping hands that can hold the fan up for you or simply hold your spirits.
This was a stepwise guide to installing your own Harbor Breeze ceiling fan, however, in case you face issues that are not covered in the steps above, it is best to consult a professional and call in an electrician for the safest results.
Ratchell K
You’ve the most impressive websites.